
Okay, okay I know! This is seriously the best idea since french freakin' toast was made! I have been thinking, AND thinking about what I could do with my Instagram pictures for a while now. Thanks to some searching, and my favorite application I found an idea that I could roll with! Do It Yourself #DIY custom Polaroid Instagram Coasters!
I have seen all sorts of ideas pop up here and there. I saw an advertisement for create your own instagram coffee table book, and use your photos to make magnets, and then I saw this idea and I said WOW! All of these ideas are absolutely wonderful and if you have the time to craft for an afternoon, I say go for it!
There is nothing better than actually PRINTING out your photos! Think about it for a minute..... If they never get printed, where do they go? On your phone? To the cloud? On a CD? Great........ but what good does that do for you? What happens when your phone breaks and you forgot to back it up? What happens when sites like Instagram go obsolete just like friendster? What happens when your CD stops working, or CD's become a thing of the past? So long of the short, PRINT OUT YOUR PHOTOS! Instagram is a pretty rad application and I truly love it, but if it ever went away I think I would honestly cry.
Okay so now that I'm done carrying on and on about getting your photos printed in a hard copy version, let's talk about this fantastic project! ANYONE can do this... seriously, anyone. It's super simple to do and costs less than $50 total for the supplies. Now the time it takes to do this is another story, but it's relatively inexpensive to actually make. BONUS if you already have some of the supplies!
It could make a great gift for anyone at anytime, because people love photographs. People LOVE the feeling of they get from an old Polaroid. And people love being crafty or saying "Hey! I can do this too!"

So here it goes.
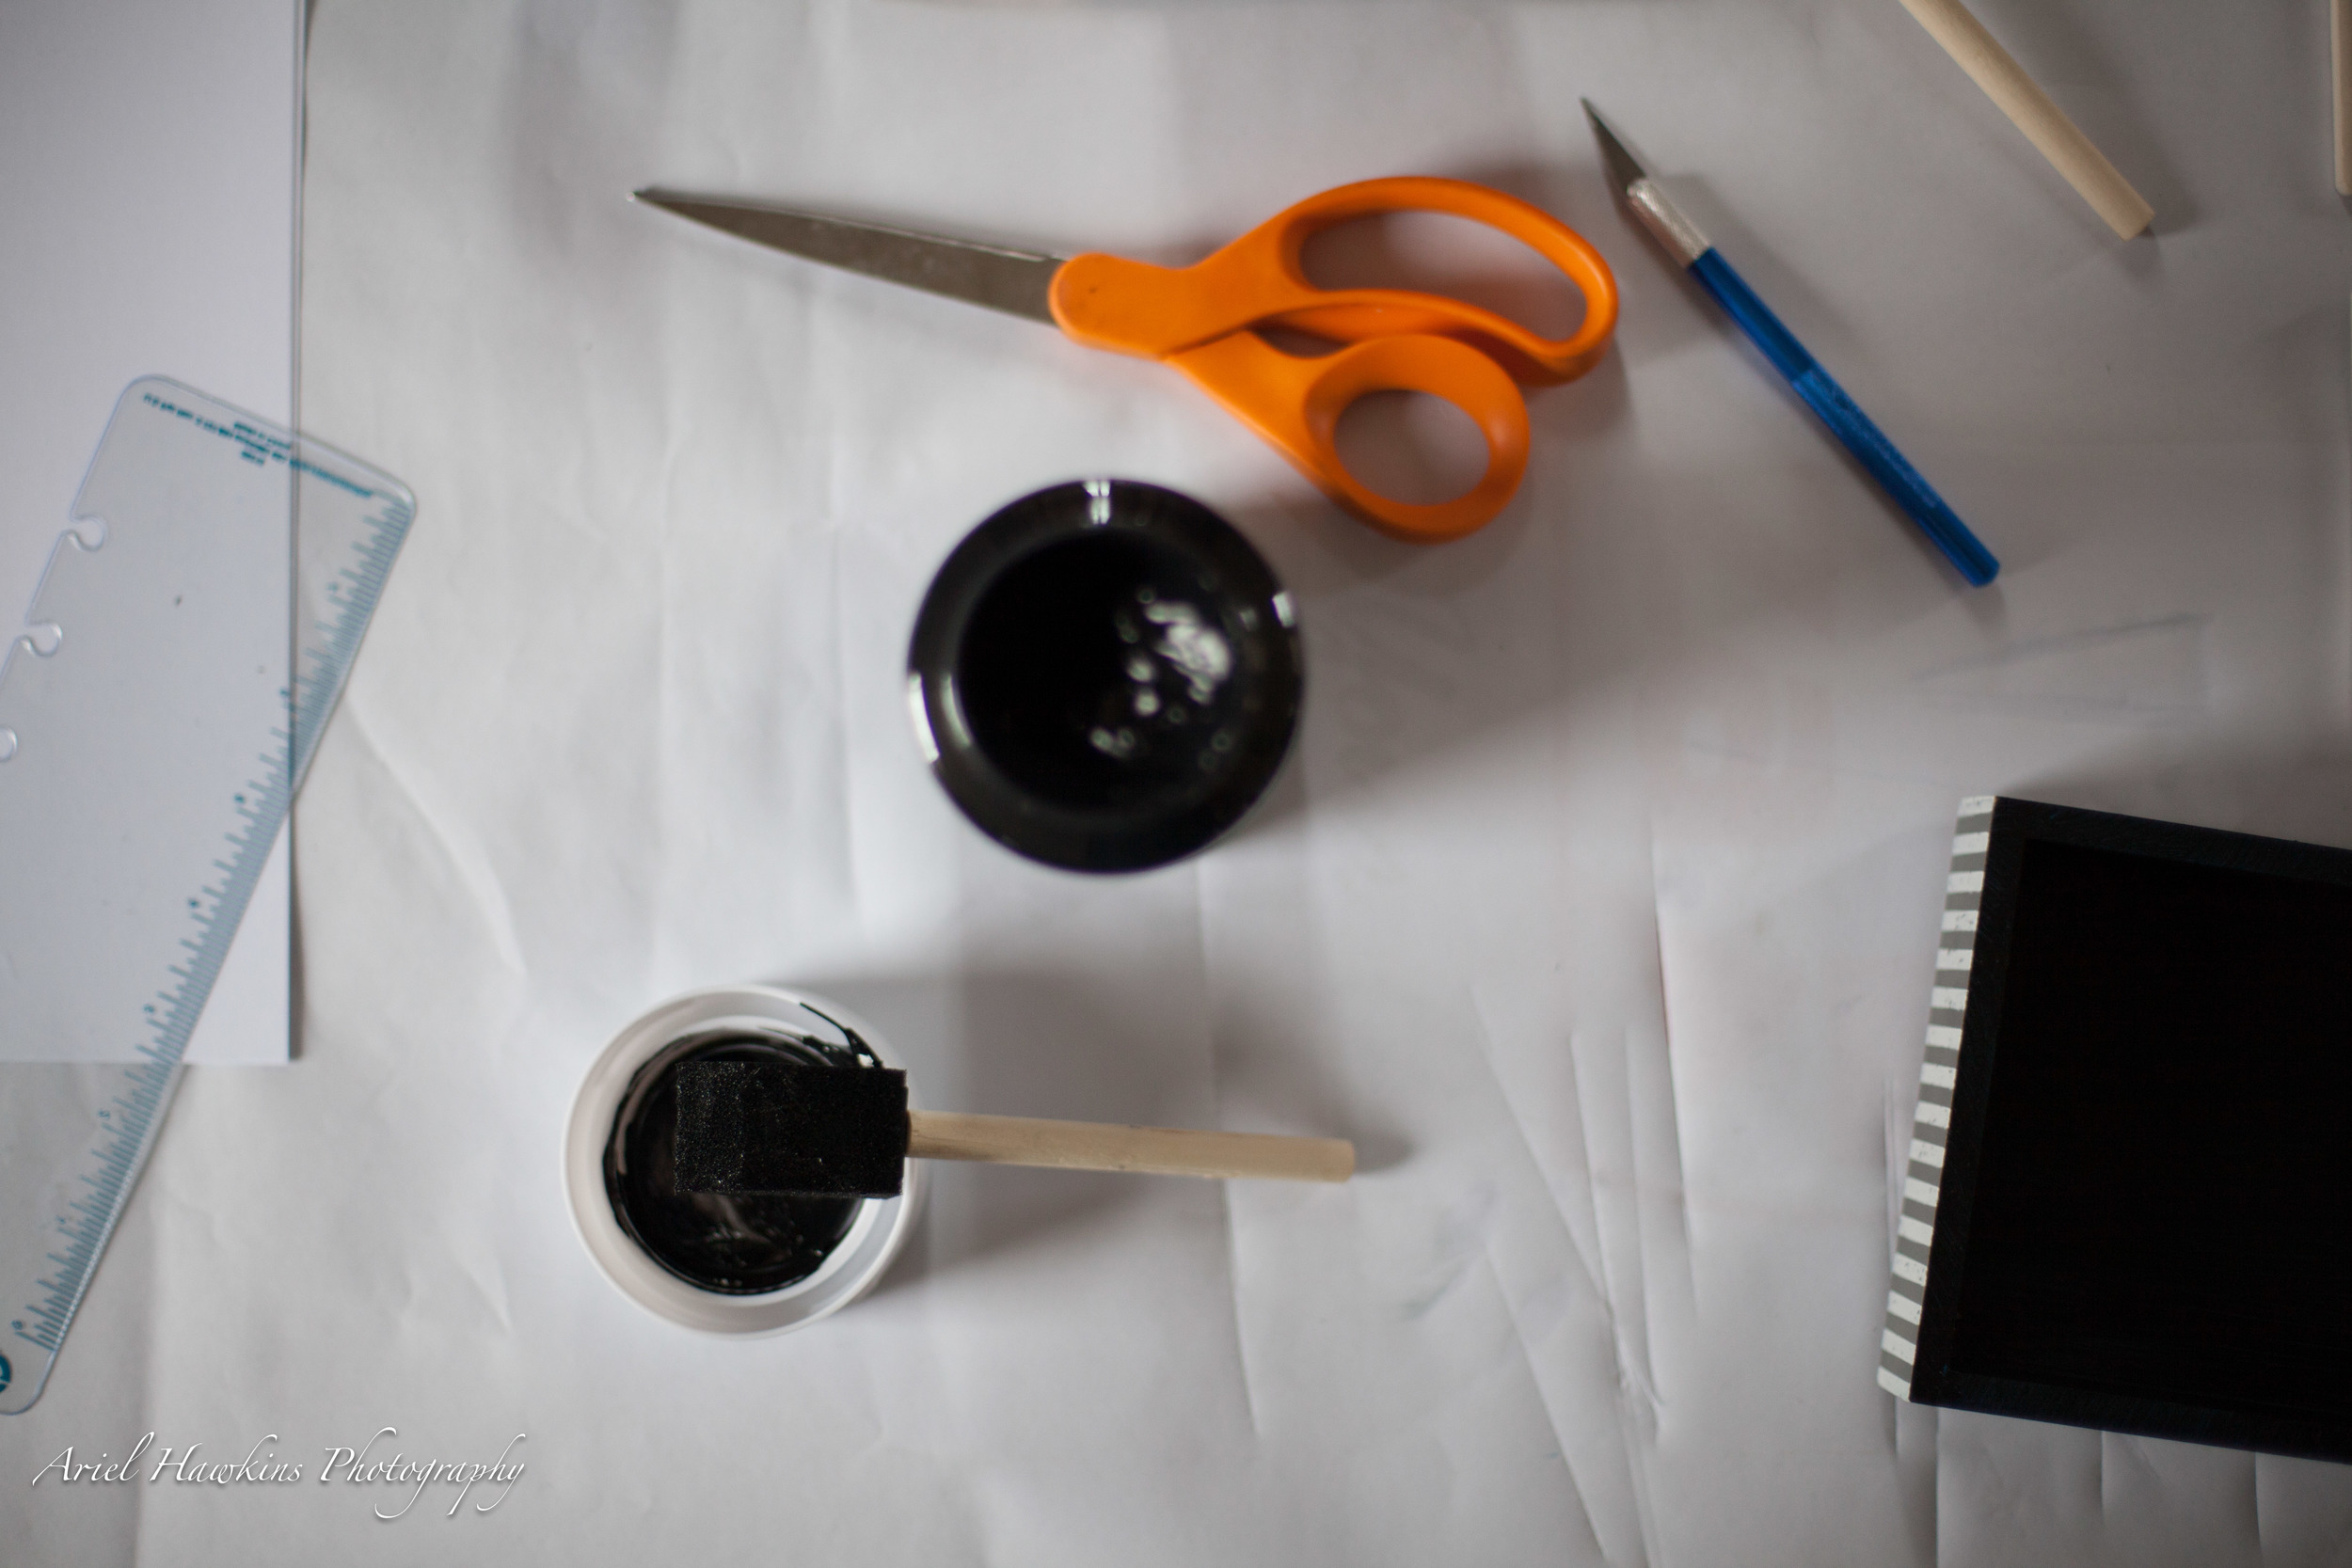
Supplies needed:
One container of Mod Podge. This come in several different finishes. I chose a glossy finish because I wanted my end product to shine.
An exacto knife.
A padded roller. This will help roll out any bubbles in your photograph.
Sponge brushes. I love these little guys!
A high gloss or matte finish gel. I used triple thick brilliant brush-on gloss glaze. It gave my finished product this cool crackled look. This will seal the coaster so you can put a drink on it.
Unfinished coasters. You can use wood, tile or make up your own medium. Just about anything can be used. I purchased my sets from Michaels Craft Store.
A coaster holder, you can't forget that! I bought a finished box and then painted it.
Padders. These you place on the bottom side of the coaster so it doesn't hurt your surfaces. You can use felt, or rubber padders.
You will need paper a printer and Photograph's from Instagram.
You can buy almost all of these products at your local craft store such as Michael's, Joanne's or AC Moore. You can also pick these up at your local hardware store.

Get all of your supplies ready to go by cleaning everything and making sure your surfaces are ready to apply the Mod Podge and or paint if you are creating a custom coaster holder as well.
If your painting your custom coaster holder, choose a paint that works with your color scheme. I chose black for this particular holder. I purchased the box already painted and just painted right over it.

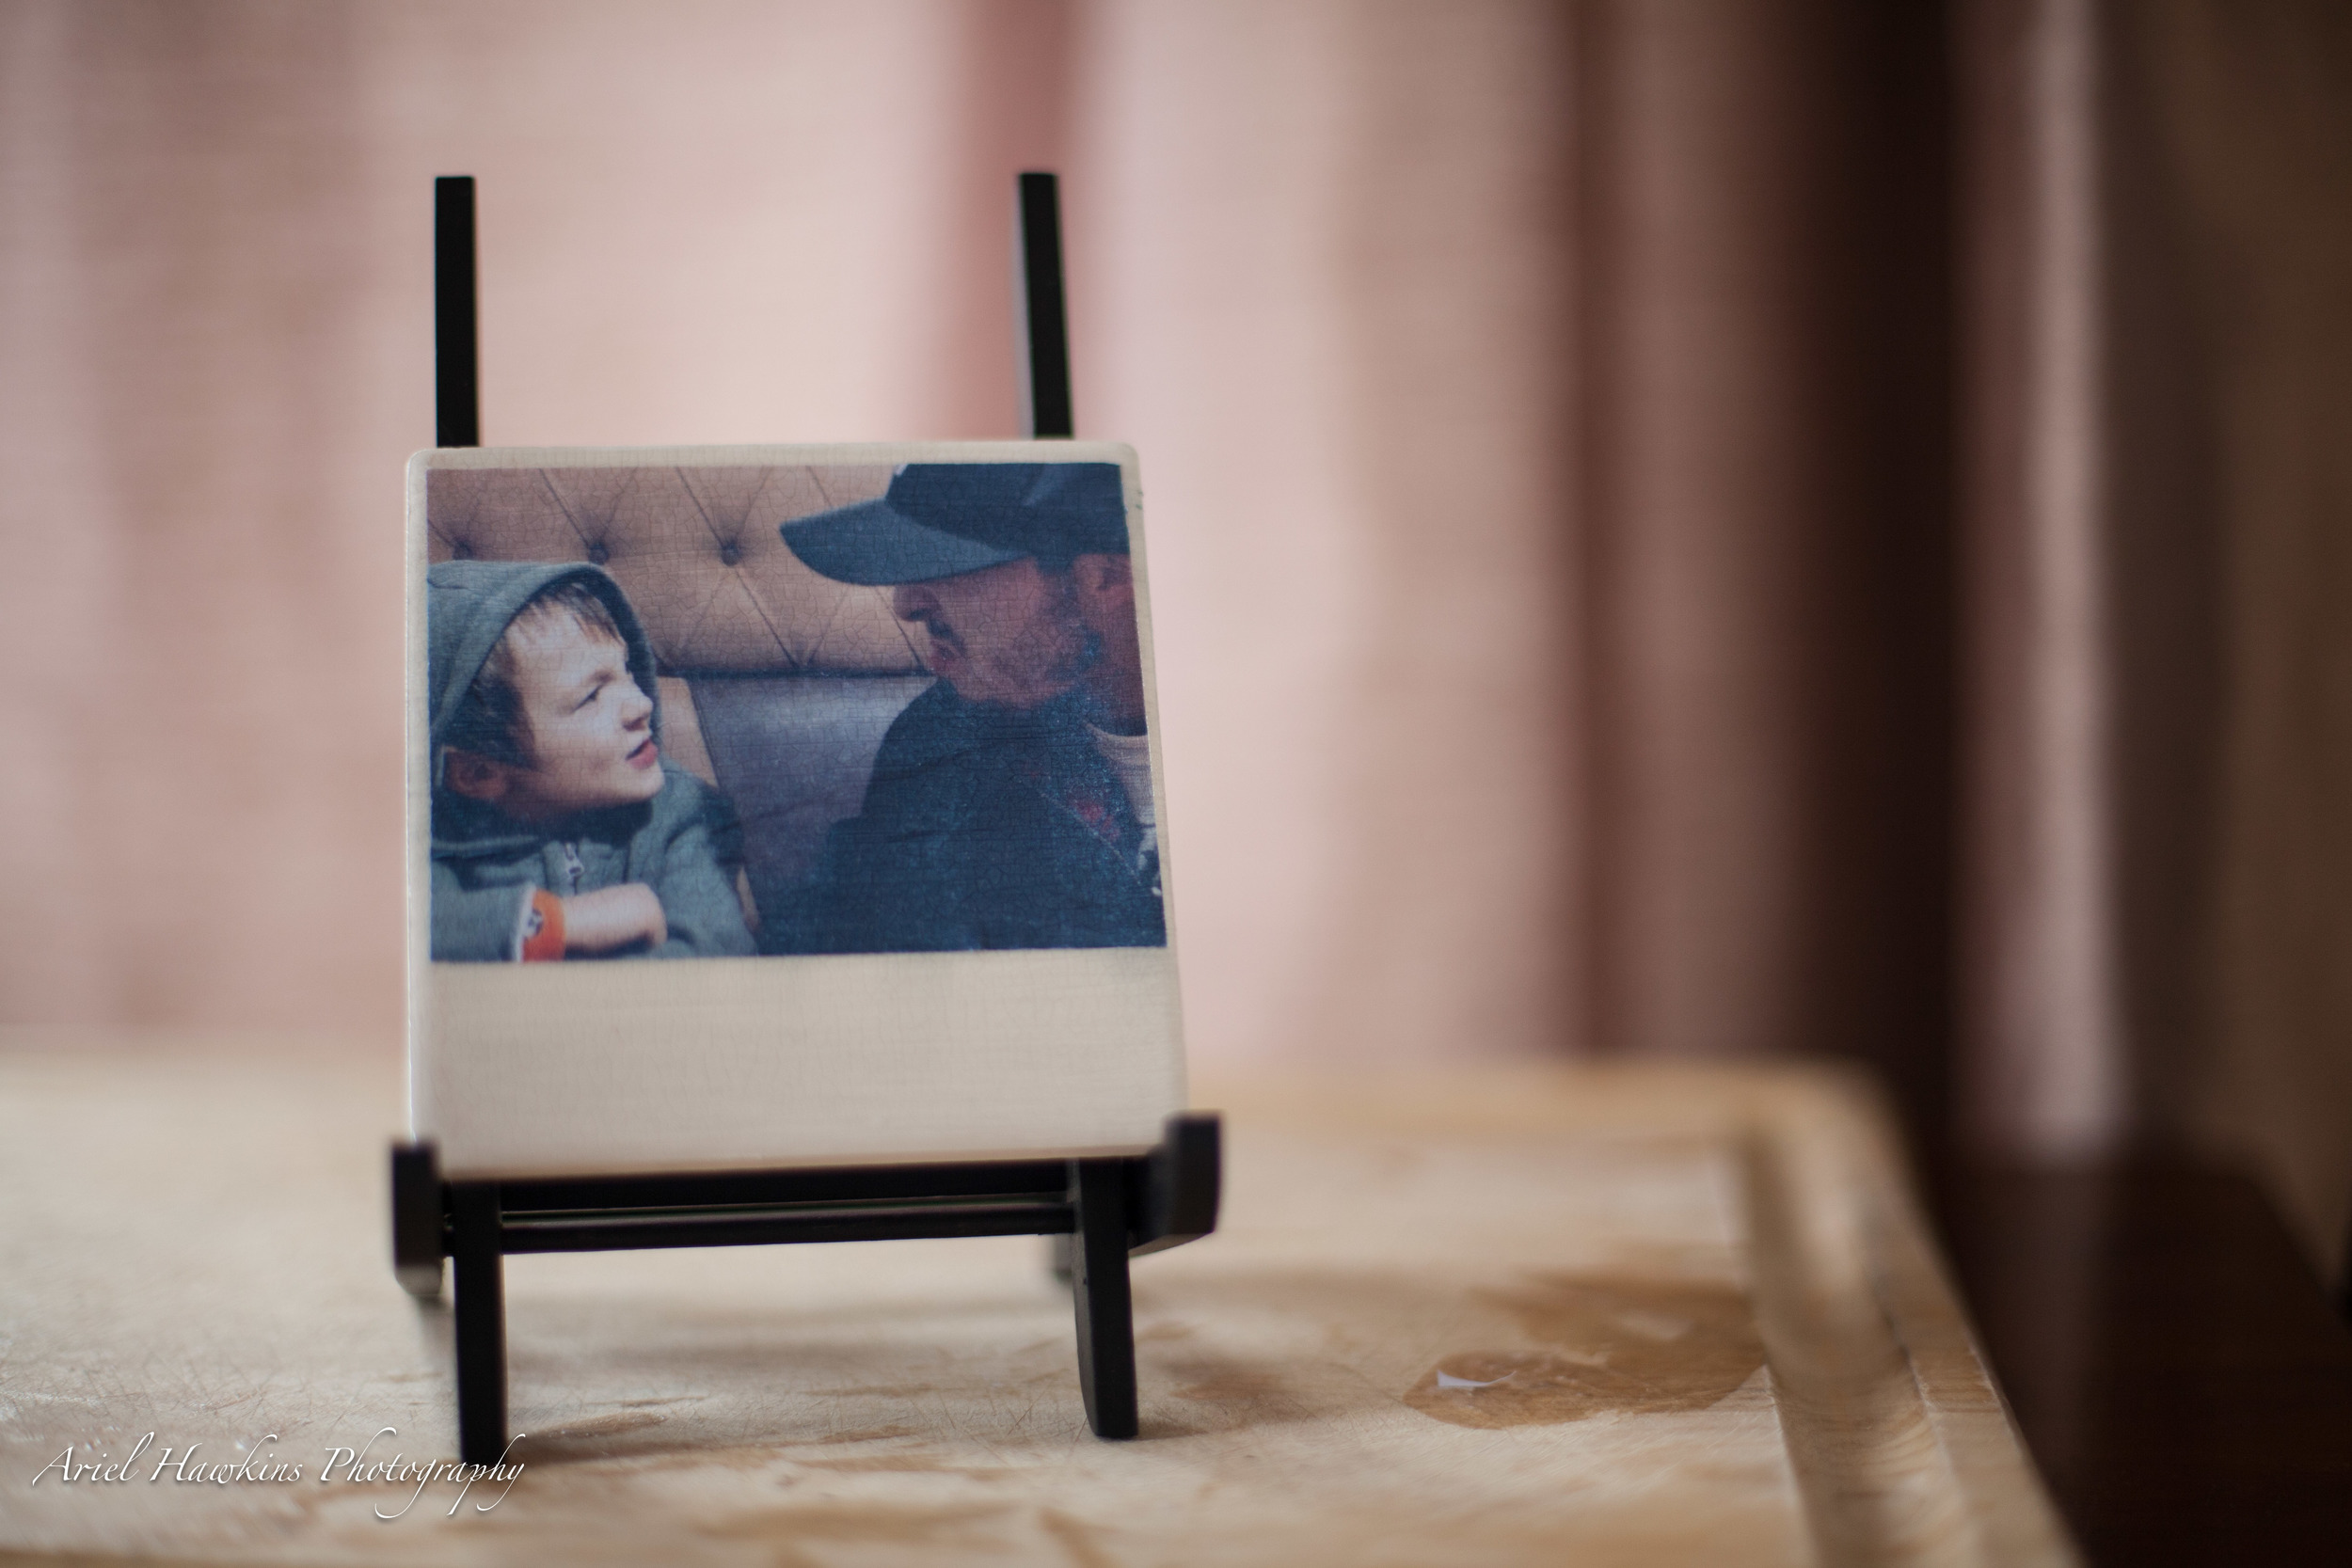
Collect your favorite pictures from Instagram! This is the fun part. I logged onto my Instagram account from my phone. I took a screen shot of each photo I wanted to use. I then went into my camera roll on my phone and sent it to my printer! BOOM. I printed each picture out and then cut it down to size to fit kind of like a polaroid picture. If your phone does not have the capability of printing, send yourself an email of all of the files. From there you can take them into a program and print them out.
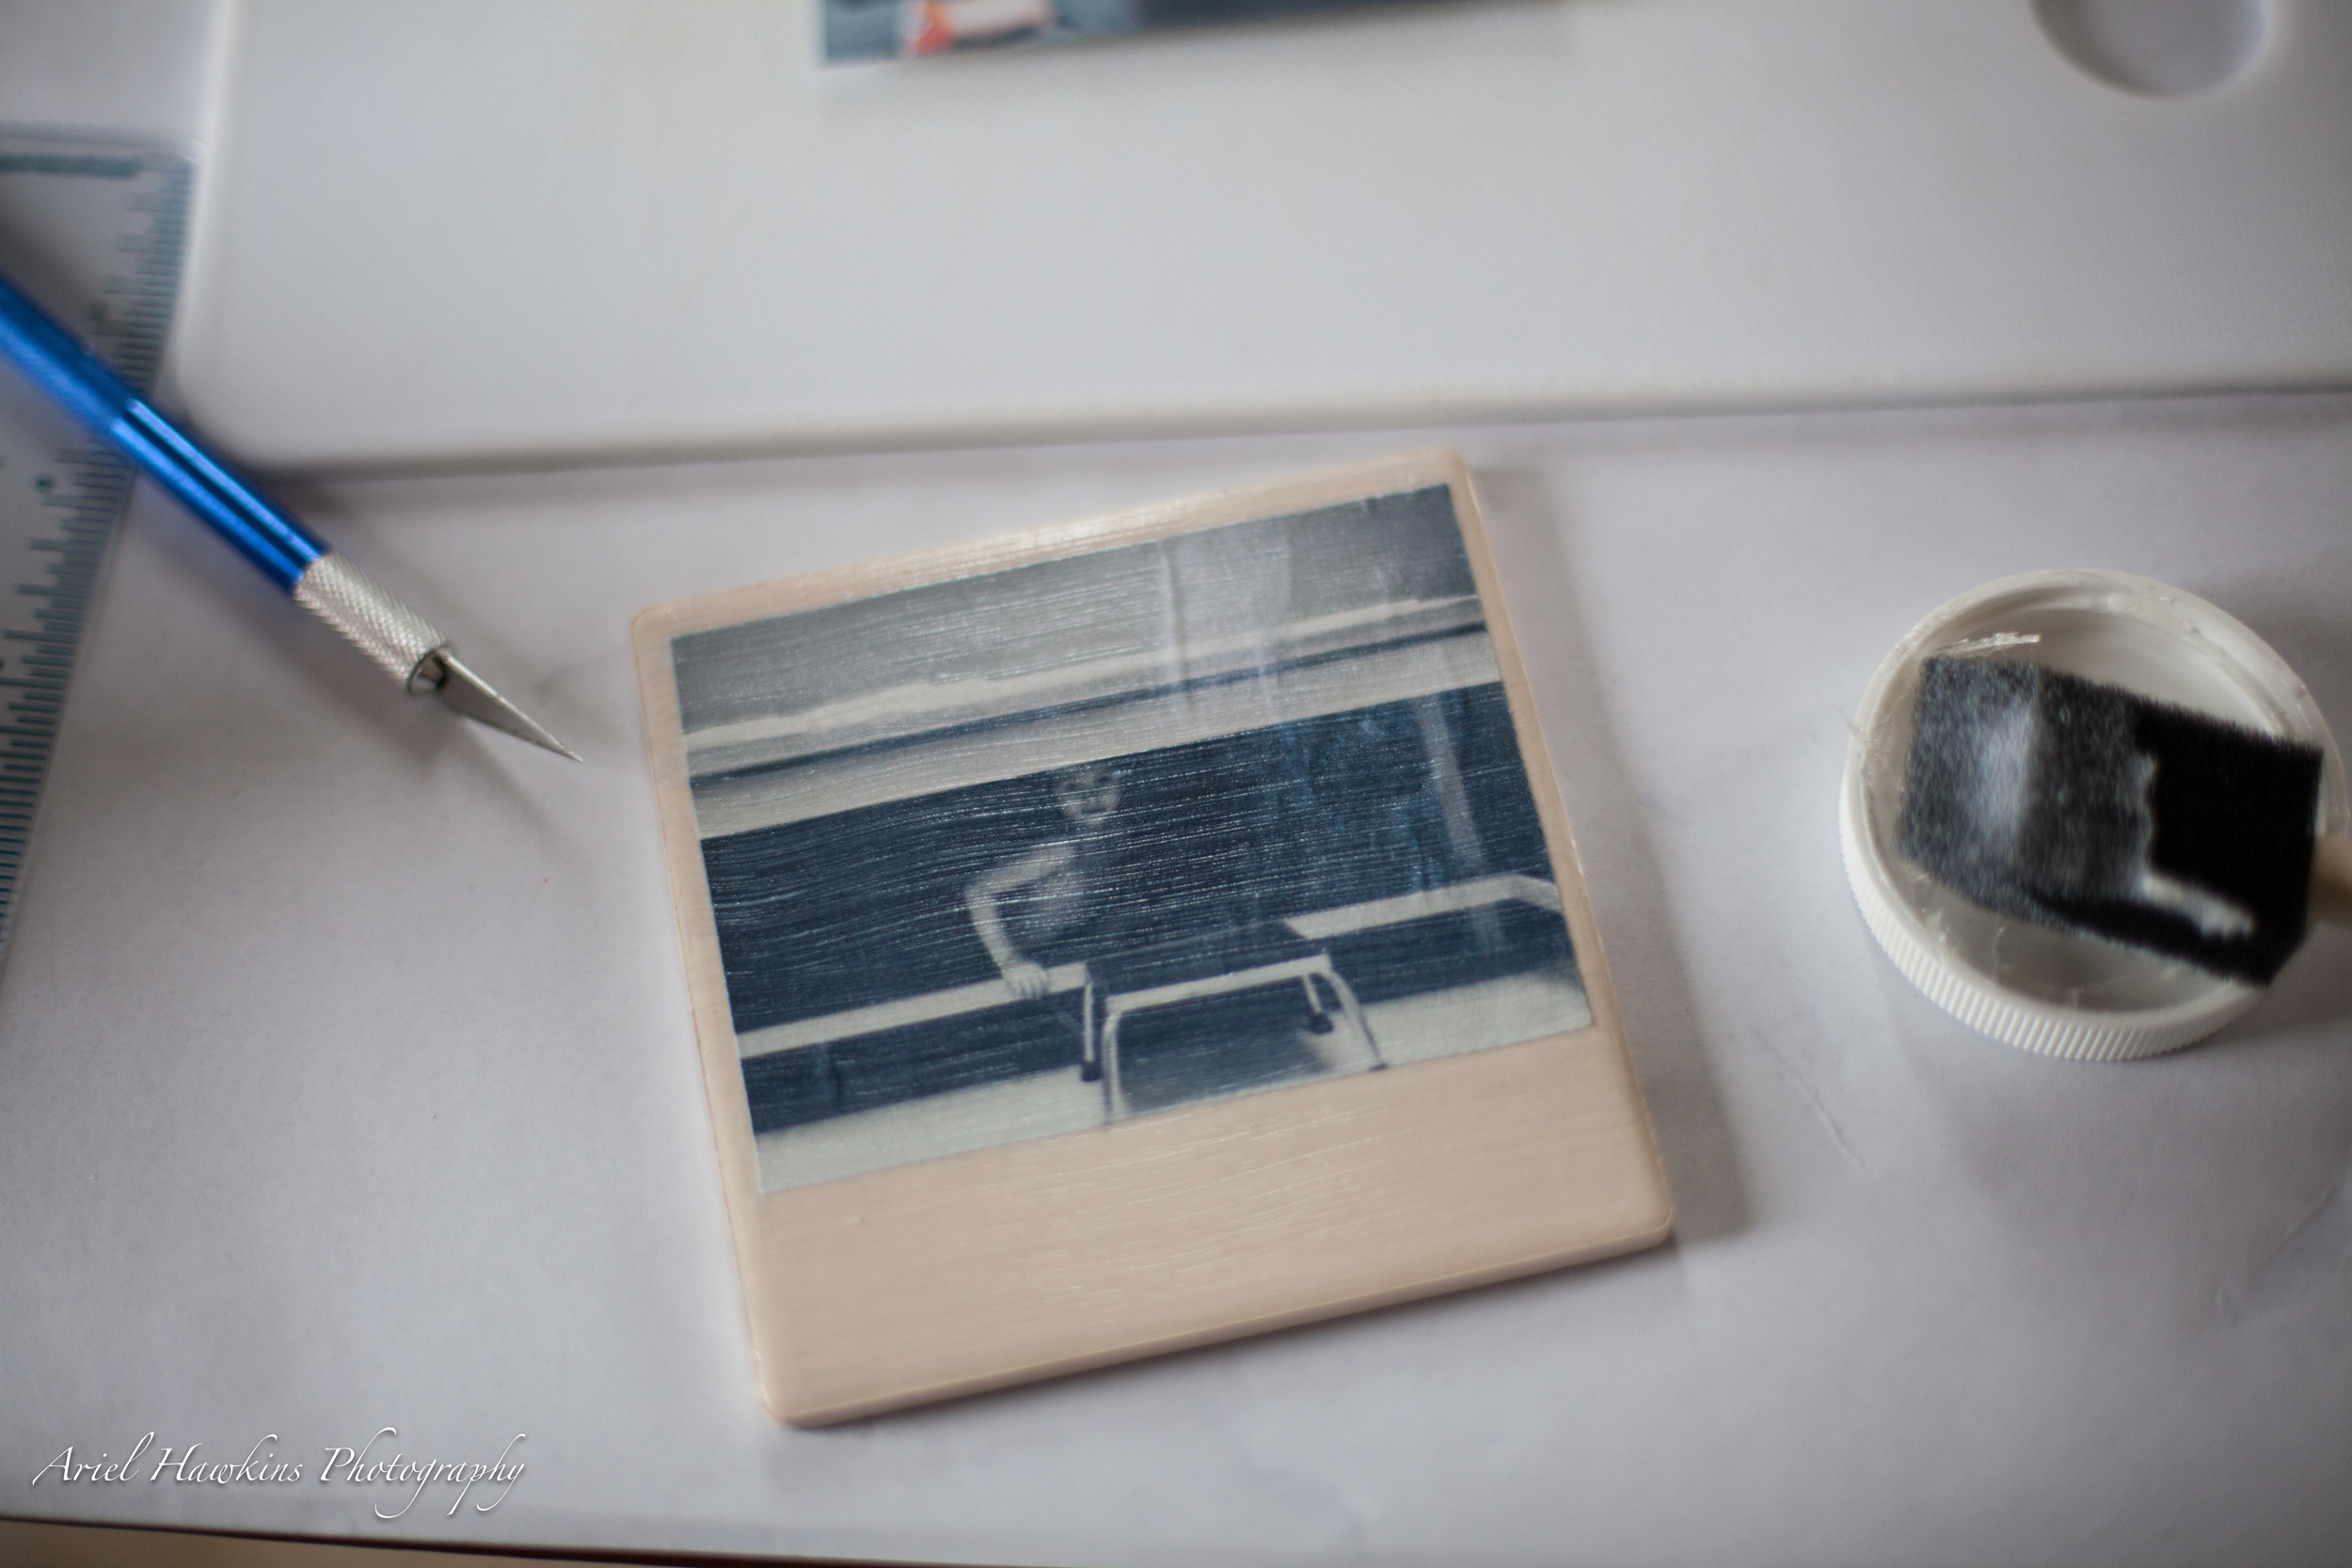
Apply Mod Podge to your picture on the backside. Apply it to your ceramic or wood coaster as well. Line your picture up and use the roller to flatten out any bubbles in your picture.

Apply up to 3 coats on the top of your picture and the coaster. I used two coats of Mod Podge on top of my coasters.
Are you getting REALLY excited to create something awesome today!
Allow the Mod Podge to dry in between each coat. Make sure you use even brush strokes. Pick one direction you would like to go in and stick with it. I went from left to right.
After the Mod Podge is dry, apply the finish coat of gloss. You will only need one coat of this. Apply the coat generously but not too much or you will have overrun. Allow this to dry. When your done apply the same coats to the back side of the coaster. This will seal it out entirely. Once that is dry you can now add the padders.
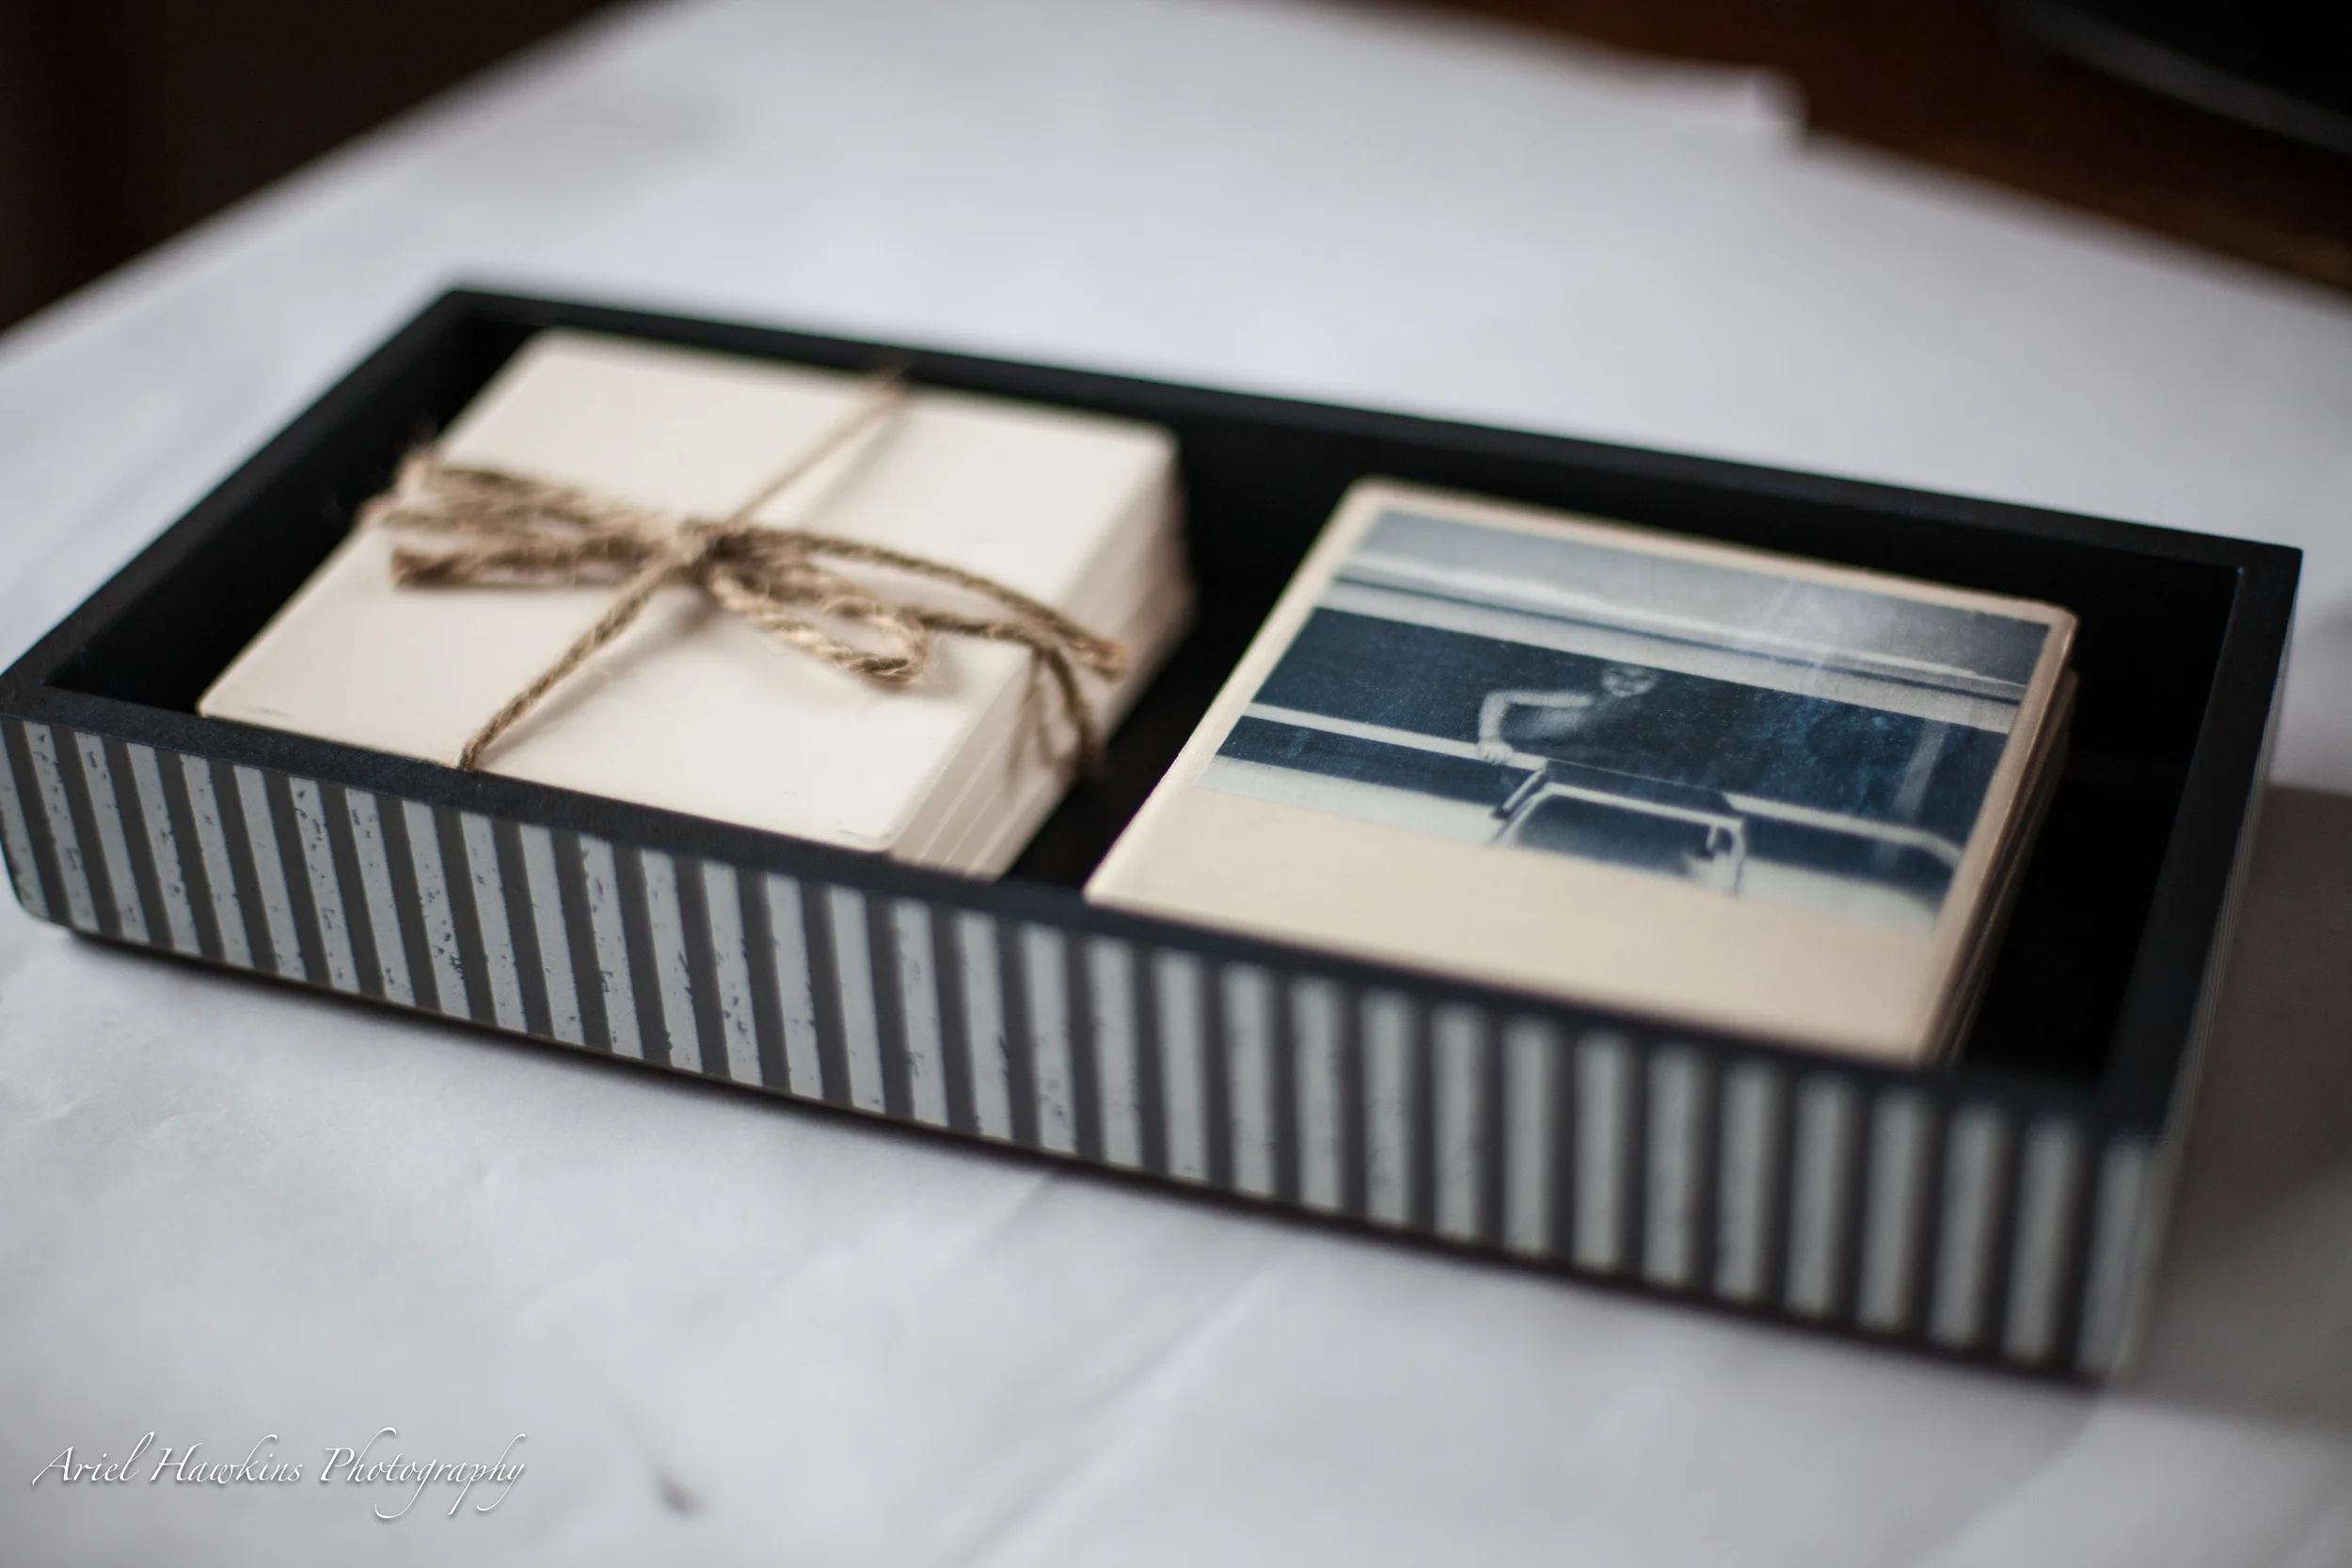
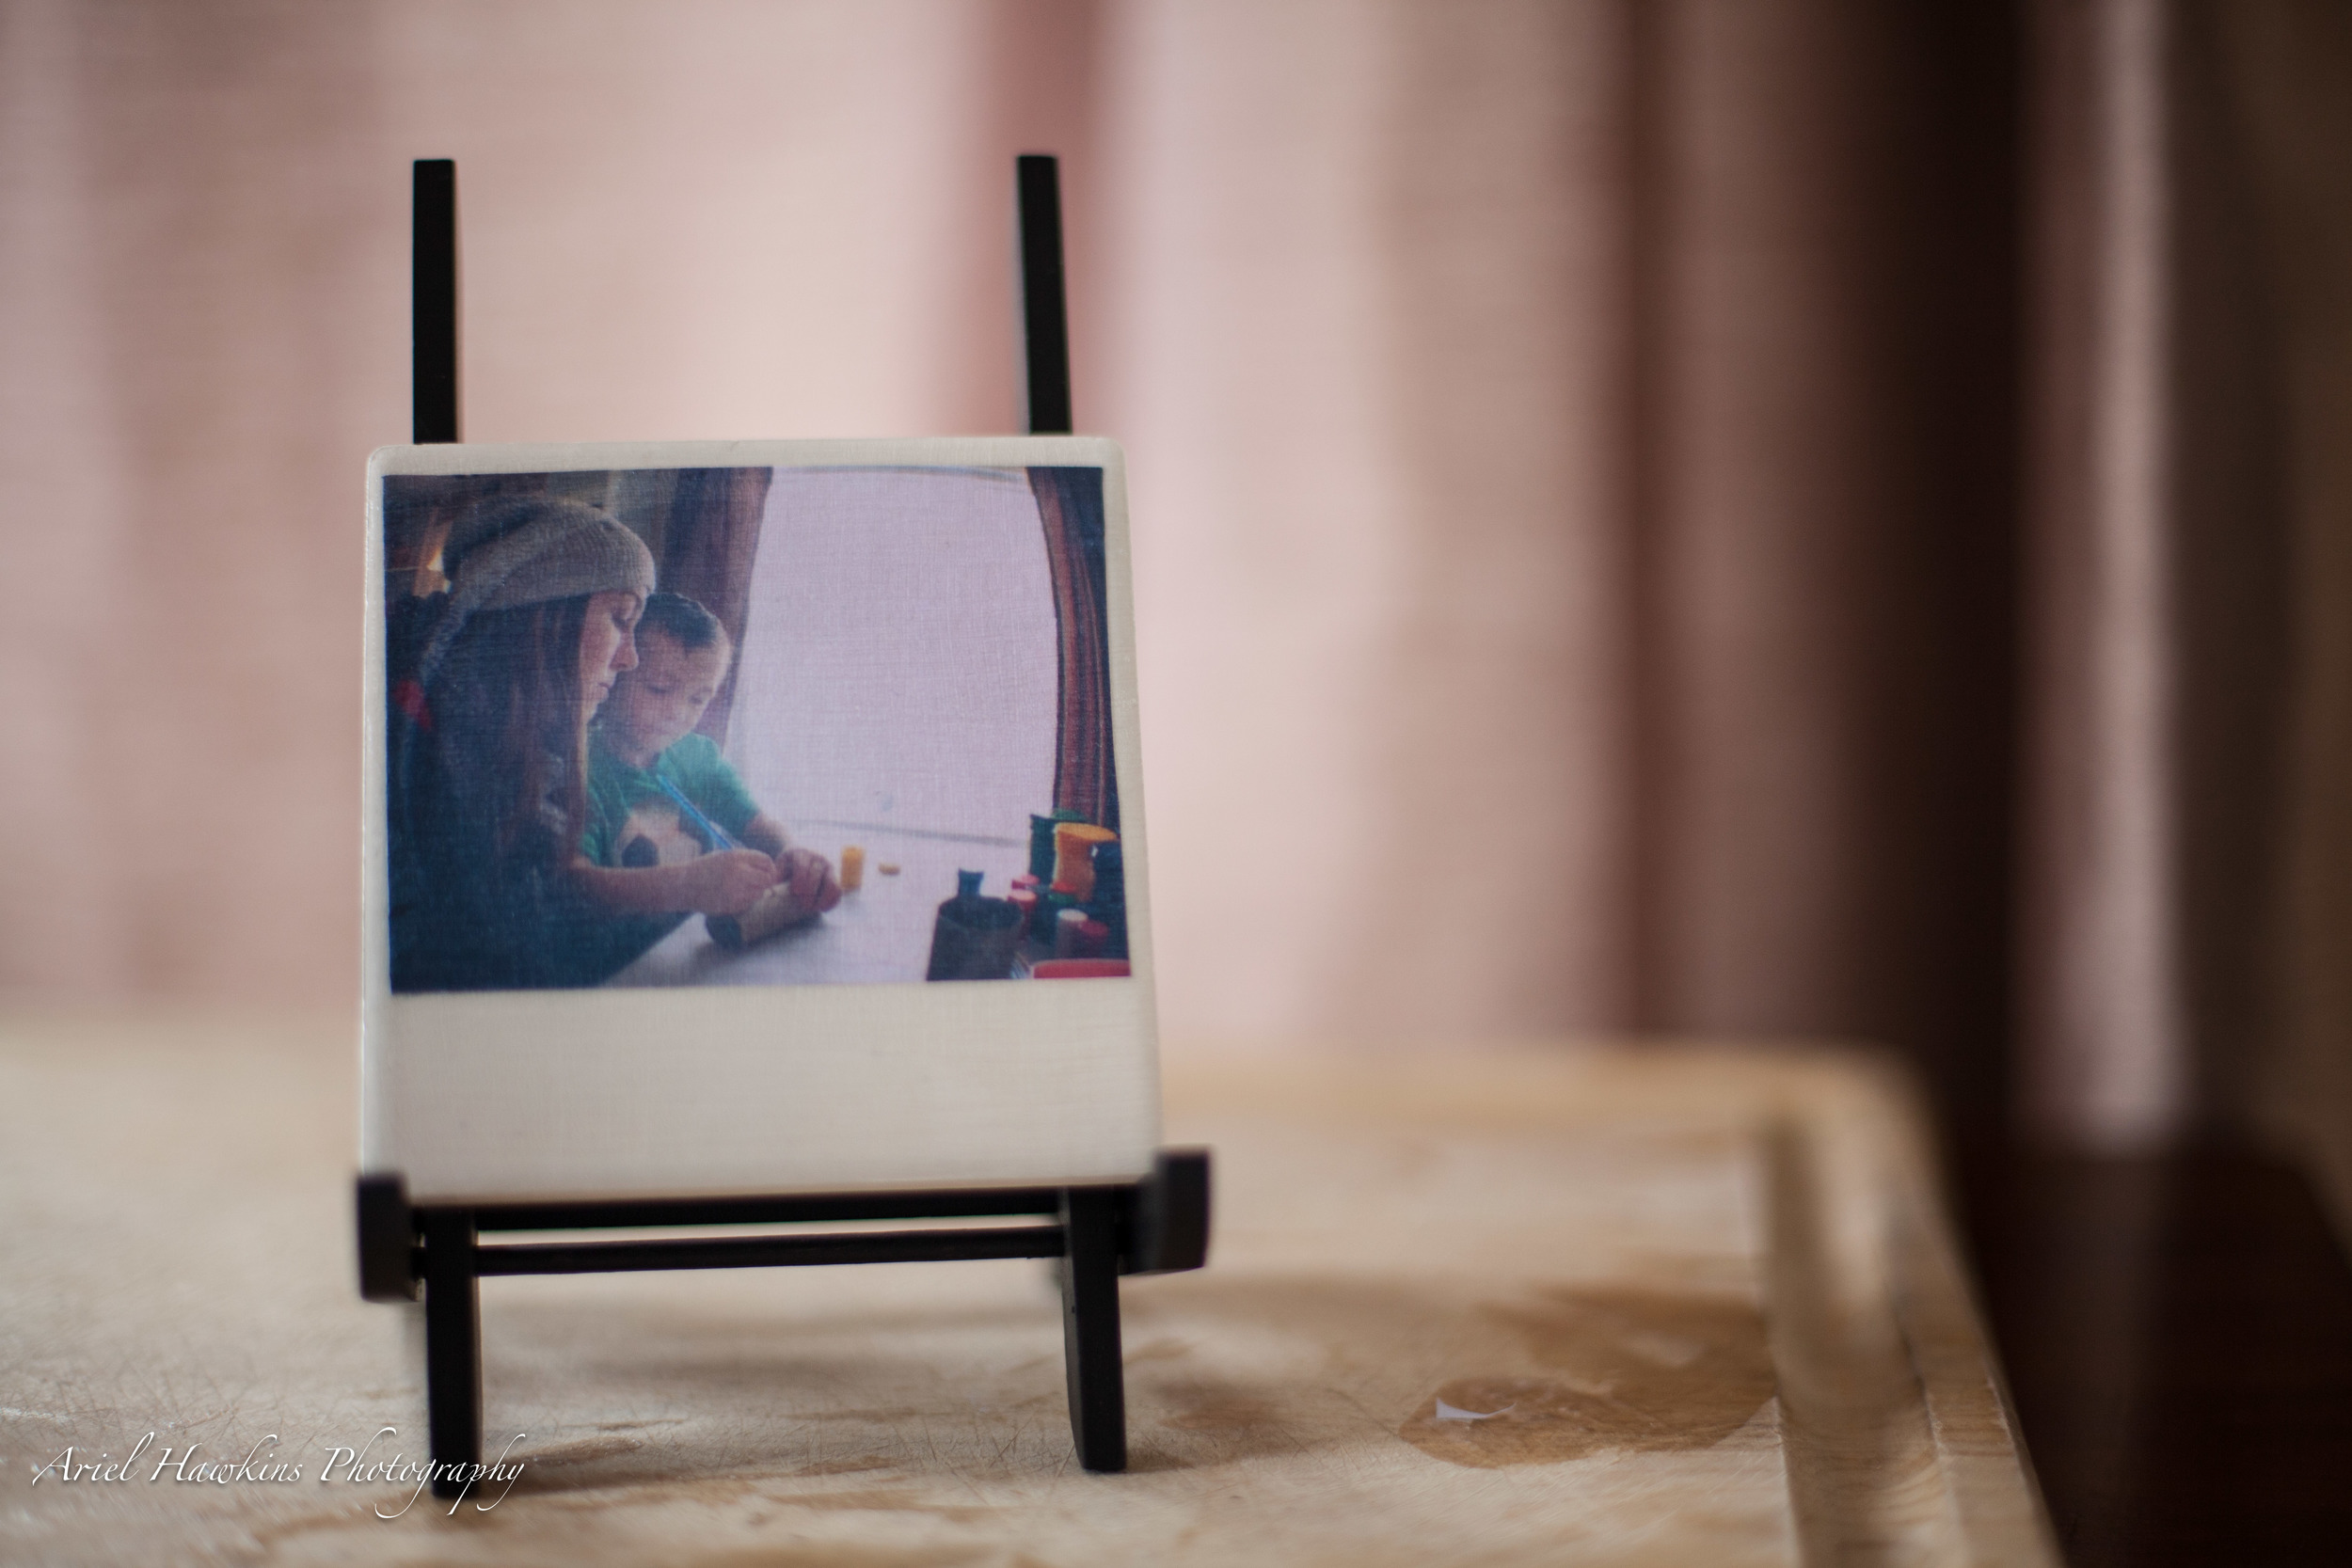
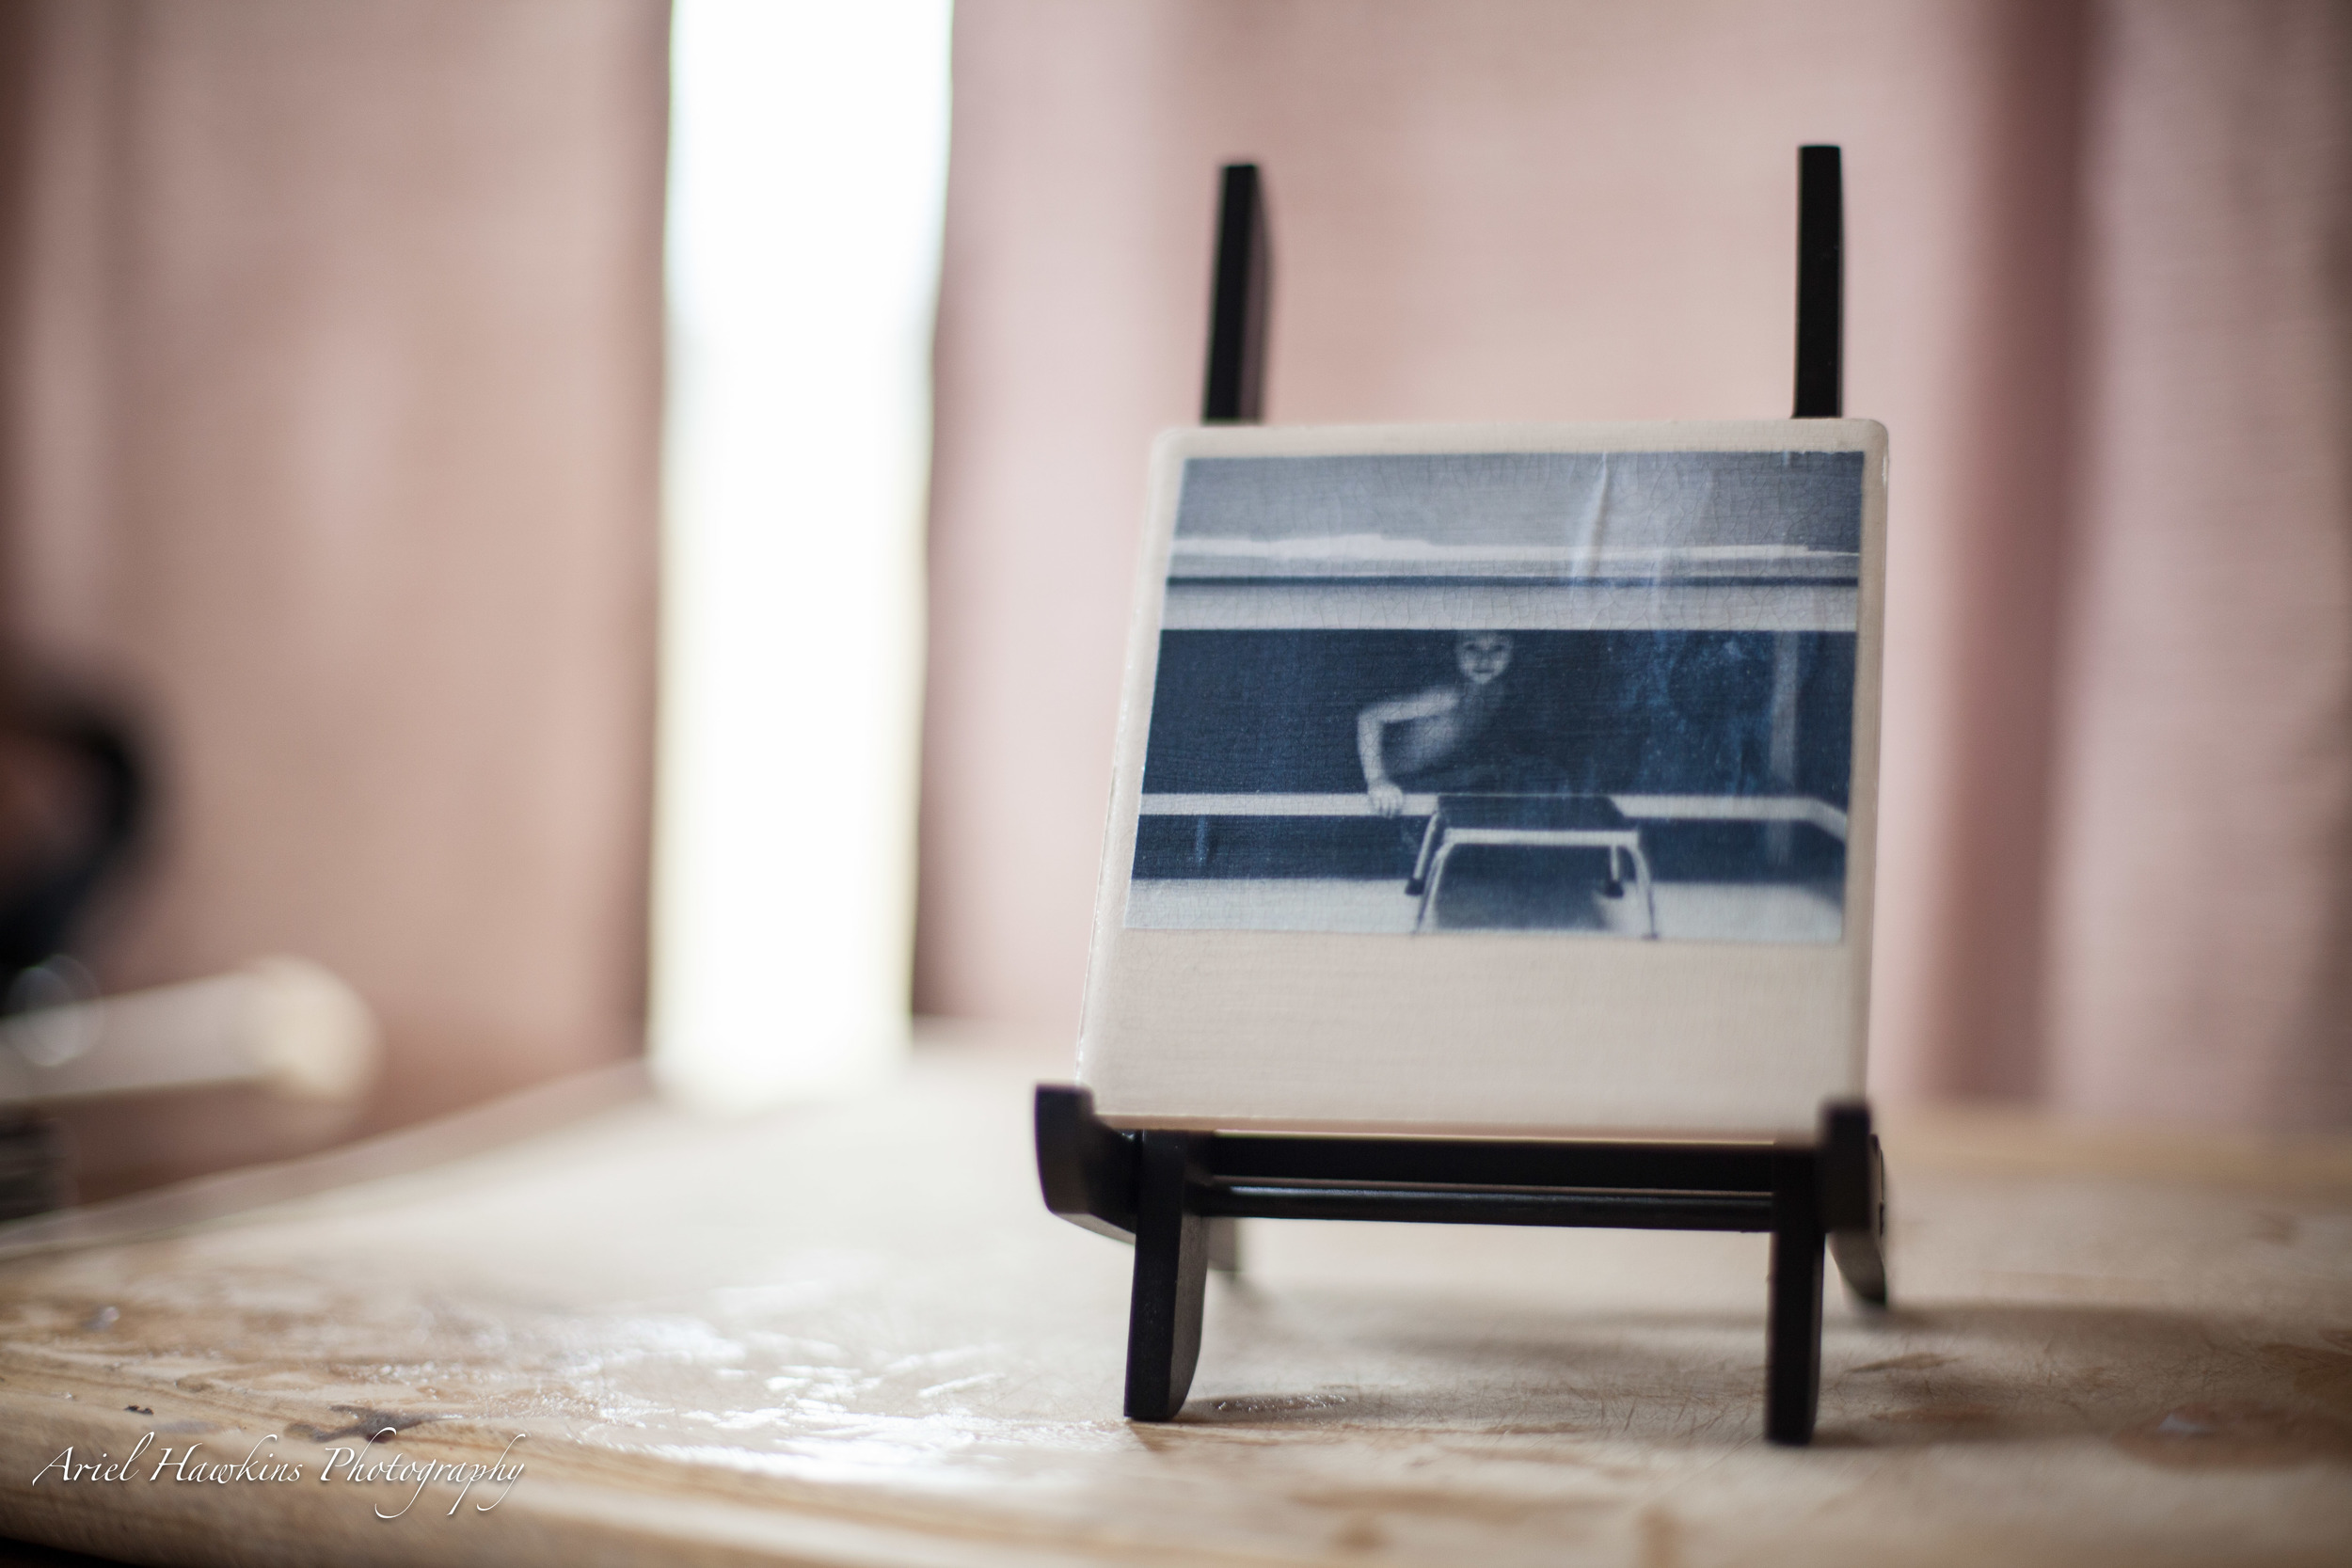
Here's the final product! How cool is this as a gift!? Now you have something totally worth gifting to a friend, a loved one, a grandparent, even a significant other! Package it as you see fit and let me know how it turned out!
So there you have it folks. A complete do it yourself tutorial of how to make a Polaroid Instagram Coaster! If you have enjoyed what you saw today there's plenty more inspiration where that came from. You can follow me on any of my social media platforms or subscribe to the blog. Art is a form of expression, from a stick figure you draw to the mural you place on the wall get out there and create something awesome today!
LIVE.LAUGH.PHOTO. <3 ARIEL